One-Click GCP Deployment
Introduction
In this tutorial, we'll be covering a one-click deploy method for a Quai Network node inside of the Google Cloud Platform (GCP). The one-click deploy provides a quick and easy solution for setting up a Quai Network node inside the Google Cloud Compute Engine without the hassle of installing dependencies or environment configuration.
Requirements
To use the GCP one-click deploy, you'll need:
Google Cloud SLI
To install the Google Cloud CLI SDK, follow the installation guide for your specific operating system.
For most systems, you'll need to grab the download link the gcloud-cli package and download it via the command below. It is recommend to install the package in your machine's root directory.
wget <gcloud-cli-download-link>
After downloading the .tar file, decompress the file using:
tar -xzvf <gcloud-download-file-name>
This will create a directory named google-cloud-sdk. To finish the installation, run:
./google-cloud-sdk/install.sh
Initialize Project
Now that we've installed the google-cloud-sdk, we'll need to initialize gcloud-cli. You can do this by running:
./google/cloud/sdk/bin/gcloud init
This will walk you through authenticating your Google Cloud account as well as defining your current project.
Quai Deployment Package
The Quai Deployment Package is a .tar.gz file that contains everything you need to deploy a Quai Network node and proxy to GCP. To install it on your machine, run:
wget http://archive.quai.network/quai-v0.28.2-deployment-package.tar.gz
After downloading the package, decompress the file using:
tar -xzvf quai-v0.28.2-deployment-package.tar.gz
This will create a directory named quai-v0.28.2-deployment-package. Navigate to the directory with:
cd quai-v0.28.2-deployment-package
Now the we've installed the Quai Deployment Package, we're ready to deploy a node to GCP. All commands related to the Quai Deployment Package should be run inside of the quai-v0.28.2-deployment-package directory.
Deploy
You'll need to have a few config variables prior to deploying either node type. Make sure you've collected:
coinbase-addresses: to deploy a node, you'll need an address for every chain. Generate one address for each chain via the "Add Address" button in Pelagus Wallet's accounts page.gcp-region: you can find region options on GCP's available regions page. If you're not sure which region to select, a solid default isus-central1.project-id: this is the project you'll be deploying your node to. Your project name be easily by clicking the dropdown menu at the top left of your GCP Console page.
The one-click deploy command will automatically configure.
Global Node and Proxy
The following command is used to deploy a Quai Network global node to a GCP Compute Engine instance.
You'll need to replace:
deployment-name: replace<deployment-name>with the name of your choice.- Example:
deployments create quai-node-deployment
- Example:
gcp-region: replace<gcp-region>with the region of your choice.- Example:
region-param: us-central1
- Example:
coinbase-address: replace each of the coinbase addresses with your own, but remove the "0x" from the front of the address.- Example: My Cyprus1 address is 0x0000000000000000000000000000000000000000, so I would remove the "0x" and put it in place of
<zone-0-0-address> zone-0-0-coinbase-address: 0000000000000000000000000000000000000000
- Example: My Cyprus1 address is 0x0000000000000000000000000000000000000000, so I would remove the "0x" and put it in place of
project-id: replace<project-id>with your project ID.- Example:
--project voltaic-genie-374321
- Example:
gcloud deployment-manager deployments create <deployment-name>
--template quai-deployment.jinja \
--properties region-param:<gcp-region>, \
  node-type:full, \
  zone-0-0-coinbase-address:<zone-0-0-address>, \
  zone-0-1-coinbase-address:<zone-0-1-address>, \
  zone-0-2-coinbase-address:<zone-0-2-address>, \
  zone-1-0-coinbase-address:<zone-1-0-address>, \
  zone-1-1-coinbase-address:<zone-1-1-address>, \
  zone-1-2-coinbase-address:<zone-1-2-address>, \
  zone-2-0-coinbase-address:<zone-2-0-address>, \
  zone-2-1-coinbase-address:<zone-2-1-address>, \
  zone-2-2-coinbase-address:<zone-2-2-address> \
--project <project-id>
Running this command will solely deploy the node and proxy's code and configuration to your GCP project, but will not start either program. You will have to manually start your node and proxy after deployment.
After running the deployment command above, your node and proxy have now been successfully deployed to a GCP project. You're now ready to run your node and proxy in GCP.
Slice Node and Proxy
The following command is used to deploy a Quai Network slice node to a GCP Compute Engine instance. To run a slice node in GCP, you'll need to specify a slice-type variable.
You'll need to replace:
slice-type: replace<slice-type>with the slice you'd like to run.- Specify the slice type with the format:
zone-<region-index>-<zone-index> - Example:
slice-type: zone-0-0(Cyprus1)
- Specify the slice type with the format:
deployment-name: replace<deployment-name>with the name of your choice.- Example:
deployments create quai-node-deployment
- Example:
gcp-region: replace<gcp-region>with the region of your choice.- Example:
region-param: us-central1
- Example:
coinbase-address: replace each of the coinbase addresses with your own, but remove the "0x" from the front of the address.- Example: My Cyprus1 address is 0x0000000000000000000000000000000000000000, so I would remove the "0x" and put it in place of
<zone-0-0-address> zone-0-0-coinbase-address: 0000000000000000000000000000000000000000
- Example: My Cyprus1 address is 0x0000000000000000000000000000000000000000, so I would remove the "0x" and put it in place of
project-id: replace<project-id>with your project ID.- Example:
--project voltaic-genie-374321
- Example:
gcloud deployment-manager deployments create <deployment-name>
--template quai-deployment.jinja \
--properties region-param:<gcp-region>, \
  node-type:slice, \
  slice-type:<slice-type>
  zone-0-0-coinbase-address:<zone-0-0-address>, \
  zone-0-1-coinbase-address:<zone-0-1-address>, \
  zone-0-2-coinbase-address:<zone-0-2-address>, \
  zone-1-0-coinbase-address:<zone-1-0-address>, \
  zone-1-1-coinbase-address:<zone-1-1-address>, \
  zone-1-2-coinbase-address:<zone-1-2-address>, \
  zone-2-0-coinbase-address:<zone-2-0-address>, \
  zone-2-1-coinbase-address:<zone-2-1-address>, \
  zone-2-2-coinbase-address:<zone-2-2-address> \
--project <project-id>
Running this command will deploy the node and proxy's code and configuration to your GCP project, but does not start either program. You will have to manually start your node and proxy after deployment.
After running the deployment command above, your node and proxy have now been successfully deployed to a GCP project. You're now ready to run your node and proxy in GCP.
Run
Now that your node and proxy are deployed to a GCP Compute Engine project, we're ready to run the node and proxy.
Navigate to your Compute Engine dashboard and locate your deployment instance.
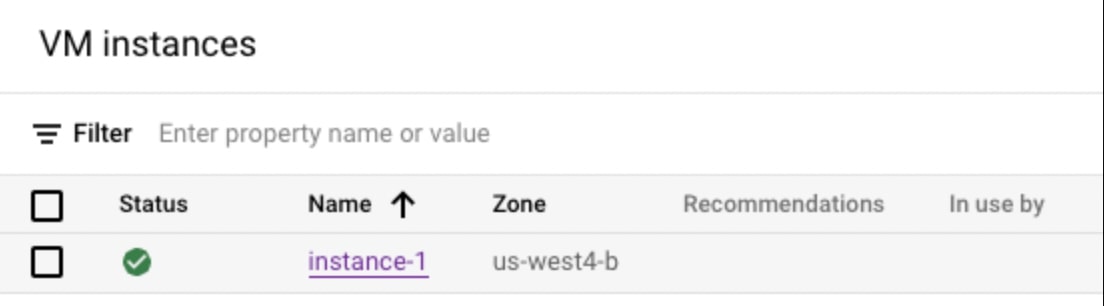
On the right of you instance, there should be an SSH button. Click the button to open an SSH-in-browser connection to your VM.
Once the SSH connection has loaded, you can follow the Run A Node tutorial and Run a Stratum Proxy tutorial to start your node and proxy.